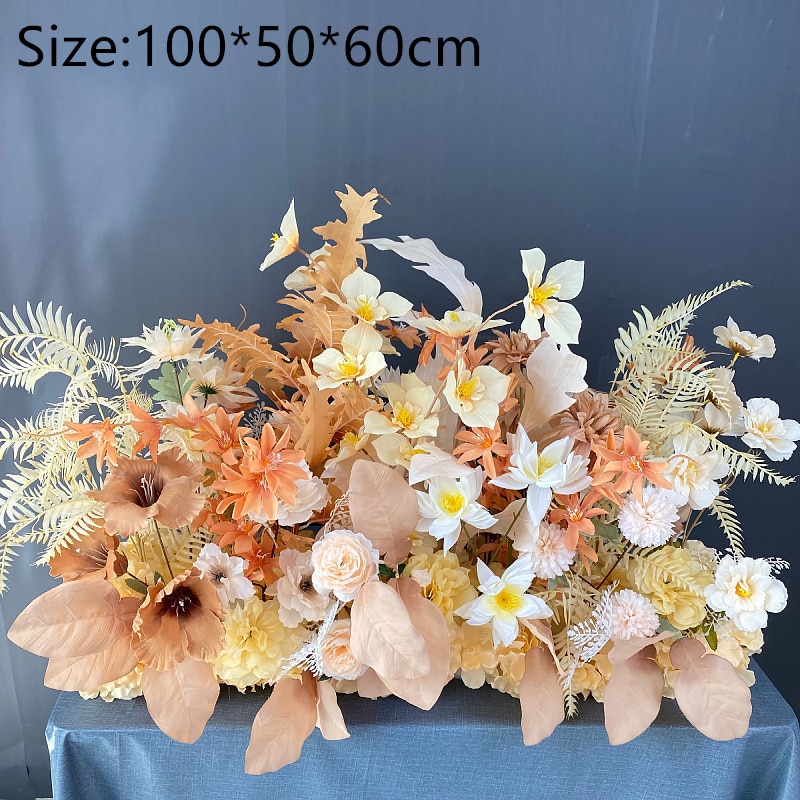
how to make a burlap flower wedding bouquet?
To make a burlap flower wedding bouquet, start by cutting burlap into flower shapes. Then, fold and twist the burlap to create petals. Attach the petals together using hot glue or floral wire. Add additional layers of burlap flowers to create a fuller bouquet. Finish by wrapping the stems with burlap or ribbon and securing with hot glue or floral tape.
1、 Choosing the right burlap fabric for your bouquet
Choosing the right burlap fabric for your bouquet is an essential step in creating a stunning burlap flower wedding bouquet. Burlap is a versatile and rustic material that adds a touch of natural elegance to any wedding theme. Here are some tips to help you select the perfect burlap fabric for your bouquet.
Firstly, consider the color of the burlap. Traditional burlap is a light brown color, but nowadays, you can find burlap in various shades, including natural, ivory, and even dyed colors. Choose a color that complements your wedding color scheme and enhances the overall aesthetic of your bouquet.
Next, pay attention to the texture of the burlap. Burlap comes in different weaves, ranging from loose to tight. A tighter weave will give your bouquet a more refined and polished look, while a looser weave will add a rustic and organic feel. Consider the style and theme of your wedding when deciding on the texture of the burlap.
Additionally, consider the weight of the burlap fabric. Lighter weight burlap is easier to work with and will create a more delicate and airy bouquet. On the other hand, heavier weight burlap will give your bouquet a more substantial and structured appearance. Choose the weight that best suits your desired bouquet style.
Lastly, consider the quality of the burlap fabric. Look for burlap that is tightly woven and has minimal fraying. This will ensure that your bouquet holds up well throughout the wedding day and looks beautiful in photographs.
In conclusion, choosing the right burlap fabric for your bouquet is crucial in creating a stunning and cohesive wedding look. Consider the color, texture, weight, and quality of the burlap to ensure that your bouquet perfectly complements your wedding theme and style.
2、 Selecting and preparing the flowers for your bouquet
Selecting and preparing the flowers for your burlap flower wedding bouquet is an essential step in creating a stunning and unique arrangement. Here's a step-by-step guide on how to make a burlap flower wedding bouquet:
1. Choose your flowers: Select a variety of flowers that complement your wedding theme and color scheme. Popular choices for burlap bouquets include roses, peonies, sunflowers, and baby's breath. Consider using a mix of different textures and sizes to add depth and visual interest to your bouquet.
2. Prepare the flowers: Remove any excess leaves and thorns from the stems. Trim the stems to your desired length, keeping in mind the size and shape of your bouquet. Fill a bucket with water and place the flowers in it to keep them fresh and hydrated.
3. Create the burlap flowers: Cut burlap fabric into squares or circles of various sizes. Fold each piece in half and then in half again to create a smaller square or triangle. Secure the folded burlap with floral wire or hot glue in the center to form a flower shape. Repeat this step to create multiple burlap flowers in different sizes.
4. Assemble the bouquet: Start by arranging the larger flowers as the focal point of your bouquet. Add smaller flowers and burlap flowers around them, alternating the colors and sizes for a balanced look. Use floral tape or wire to secure the stems together tightly.
5. Add finishing touches: Wrap the stems of the bouquet with burlap ribbon or lace to conceal the floral tape. Secure the ribbon with hot glue or pins. You can also add additional embellishments like pearls, brooches, or feathers to enhance the overall aesthetic of the bouquet.
Remember to keep your burlap flower wedding bouquet in water until just before the ceremony to ensure its freshness. This unique and rustic bouquet will add a touch of charm and elegance to your special day.
3、 Creating the base and structure of the burlap flower bouquet
Creating the base and structure of a burlap flower wedding bouquet is a fun and creative project that can add a rustic and charming touch to your special day. Here's a step-by-step guide on how to make a burlap flower wedding bouquet:
1. Gather your materials: You will need burlap fabric, floral wire, floral tape, scissors, hot glue gun, and any additional embellishments you desire, such as lace or pearls.
2. Cut the burlap into squares: Start by cutting the burlap fabric into squares of various sizes. These will be used to create the petals of the flowers.
3. Shape the petals: Take a burlap square and fold it diagonally to form a triangle. Then, fold it again to create a smaller triangle. Trim the excess fabric to create a petal shape. Repeat this step for each burlap square.
4. Attach the petals: Take a piece of floral wire and wrap it around the base of a petal, securing it tightly. Repeat this step for each petal, making sure to vary the sizes and shapes to create a natural-looking bouquet.
5. Create the flower buds: To make the flower buds, gather a few smaller petals and wrap them tightly together with floral tape. This will create a compact bud shape.
6. Assemble the bouquet: Start by arranging the larger petals in a circular shape, creating the base of the bouquet. Gradually add the smaller petals and flower buds, securing them with floral tape as you go. Continue until you achieve the desired size and shape for your bouquet.
7. Add embellishments: If desired, you can add lace, pearls, or other embellishments to enhance the bouquet's appearance. Use a hot glue gun to attach these elements securely.
8. Finish the bouquet: Wrap the stems of the bouquet with floral tape to create a neat and cohesive look. You can also cover the stems with burlap or ribbon for added charm.
Remember, this is just one way to create a burlap flower wedding bouquet. Feel free to experiment with different shapes, sizes, and embellishments to make it uniquely yours.
4、 Adding embellishments and accents to enhance the bouquet
To make a burlap flower wedding bouquet, follow these steps:
1. Gather your materials: You will need burlap fabric, floral wire, floral tape, scissors, hot glue gun, and any additional embellishments you desire, such as lace, pearls, or ribbon.
2. Cut the burlap into squares: Cut the burlap into squares of varying sizes, depending on how large you want your flowers to be. Start with smaller squares for the center of the flowers and larger squares for the outer petals.
3. Create the flower petals: Take a burlap square and fold it in half diagonally to form a triangle. Then, fold it in half again to create a smaller triangle. Starting from the folded corner, cut a curved line towards the open edges, creating a petal shape. Repeat this step with the remaining burlap squares.
4. Shape the petals: Gently pull the burlap petals apart to give them a more natural and organic look. You can also use a hot glue gun to secure the edges of the petals if desired.
5. Assemble the flowers: Take a floral wire and wrap it around the base of a burlap petal, securing it with floral tape. Continue adding petals one by one, wrapping them around the wire and taping them in place until you achieve the desired fullness for each flower.
6. Add embellishments: To enhance the bouquet, consider adding embellishments and accents. You can wrap lace or ribbon around the stems, attach pearls or rhinestones to the center of the flowers, or even incorporate other types of flowers or greenery for a more dynamic look.
By following these steps and adding embellishments and accents, you can create a stunning burlap flower wedding bouquet that is both rustic and elegant. The latest trend in wedding bouquets is to mix different textures and materials, so don't be afraid to experiment with different embellishments and accents to make your bouquet truly unique and personalized.