
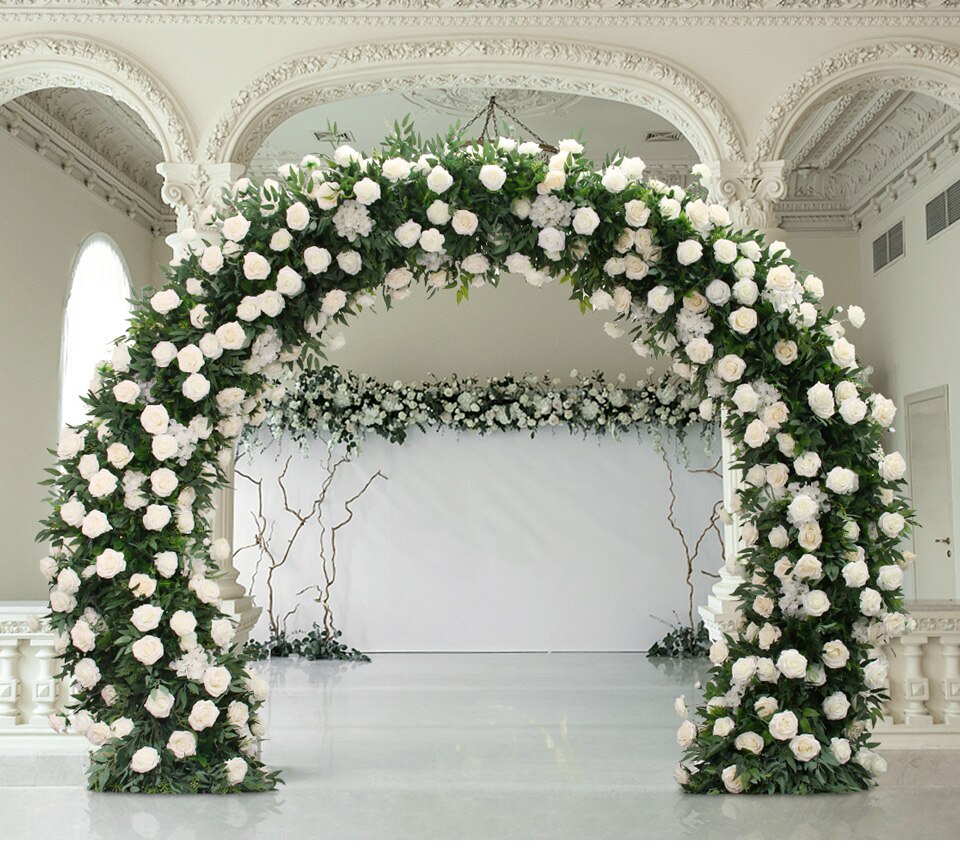
how to make a paper flower wall?

To make a paper flower wall, you will need to gather materials such as colored paper, scissors, glue, and a surface to attach the flowers to. Begin by cutting out flower shapes from the colored paper. You can use templates or freehand cut them. Next, fold the petals of the flowers to give them a 3D effect. Then, glue the flowers onto the surface in a pattern or design of your choice. You can use a foam board, cardboard, or even a wall as your surface. Continue adding flowers until you have achieved the desired look. You can also add leaves or other decorative elements to enhance the design. Once completed, your paper flower wall can be used as a backdrop for events, photo shoots, or as a decorative piece in your home or office.
1、 Materials needed for making a paper flower wall
How to make a paper flower wall:
Step 1: Gather your materials. You will need tissue paper in various colors, scissors, green pipe cleaners, and a hot glue gun.
Step 2: Cut the tissue paper into squares. The size of the squares will determine the size of your flowers. For larger flowers, use larger squares.
Step 3: Stack several squares of tissue paper on top of each other. The more layers you use, the fuller your flower will be.
Step 4: Fold the stack of tissue paper accordion-style, making each fold about 1 inch wide.
Step 5: Once you have folded the entire stack, wrap a green pipe cleaner around the center of the folded tissue paper and twist it tightly to secure it in place.
Step 6: Use scissors to round the edges of the tissue paper, creating a petal shape.
Step 7: Carefully separate each layer of tissue paper, pulling them towards the center of the flower.
Step 8: Repeat steps 2-7 to create as many flowers as you need for your wall.
Step 9: Use a hot glue gun to attach the flowers to a large piece of cardboard or foam board. Arrange the flowers in a pattern that you like, and be sure to fill in any gaps with smaller flowers or leaves.
Step 10: Hang your paper flower wall using command strips or another type of adhesive.
Materials needed for making a paper flower wall:
- Tissue paper in various colors
- Scissors
- Green pipe cleaners
- Hot glue gun
- Large piece of cardboard or foam board
- Command strips or other adhesive for hanging
In recent years, paper flower walls have become a popular decoration for weddings, parties, and other events. They are a cost-effective way to add a pop of color and texture to any space. Many craft stores now sell pre-cut tissue paper in a variety of colors, making it even easier to create your own paper flower wall. Additionally, some people have started using alternative materials such as crepe paper or even coffee filters to create unique and interesting flower designs.
2、 Step-by-step instructions for creating paper flowers
How to make a paper flower wall:
1. Choose your paper: Select high-quality paper in various colors and textures. You can use tissue paper, crepe paper, or cardstock.
2. Cut out petals: Use a template or freehand cut petals in various sizes and shapes. You will need multiple petals for each flower.
3. Shape petals: Use a pencil or your fingers to curl the edges of the petals to give them a more natural look.
4. Assemble flowers: Glue the petals together, starting with the largest petals on the bottom and working your way up to the smallest petals on top. Add a small circle of paper in the center for the flower's stamen.
5. Create a base: Cut a large piece of cardboard or foam board to the desired size of your flower wall.
6. Attach flowers: Use hot glue or double-sided tape to attach the flowers to the base. Start at the bottom and work your way up, overlapping the flowers slightly to create depth.
7. Fill in gaps: Use smaller flowers or leaves to fill in any gaps between the larger flowers.
8. Hang the wall: Use command strips or hooks to hang the flower wall on a wall or backdrop.
Creating a paper flower wall is a fun and creative way to add a pop of color and texture to any event or space. With the rise of DIY culture and sustainability, paper flower walls have become a popular alternative to real flowers. They are cost-effective, long-lasting, and can be customized to fit any theme or color scheme. Additionally, paper flower walls can be reused for multiple events or repurposed as home decor.

3、 Techniques for arranging and attaching paper flowers to a wall
How to make a paper flower wall:
1. Choose your paper: Select high-quality paper in various colors and textures to create a visually appealing flower wall.
2. Cut out flower shapes: Use a flower template or freehand cut flower shapes from the paper. Vary the size and shape of the flowers to add depth and interest to the wall.
3. Fold and shape the flowers: Use a scoring tool to create creases in the petals and shape them to give the flowers a more realistic look.
4. Attach the flowers to the wall: Use double-sided tape or glue dots to attach the flowers to the wall. Start at the bottom and work your way up, layering the flowers to create a full and lush look.
5. Add greenery: Cut out leaves and stems from green paper and attach them to the wall to add depth and texture to the flower wall.
Techniques for arranging and attaching paper flowers to a wall:
1. Use a variety of sizes and shapes: Mix and match different flower shapes and sizes to create a visually interesting wall.
2. Create a focal point: Use larger flowers or a different color to create a focal point on the wall.
3. Vary the placement: Place flowers at different angles and heights to create a more natural and organic look.
4. Use a variety of textures: Mix and match different paper textures to add depth and interest to the wall.
5. Secure the flowers: Use strong adhesive, such as hot glue, to ensure the flowers stay securely attached to the wall.
The latest trend in paper flower walls is to incorporate other materials, such as fabric or ribbon, to add even more texture and interest to the wall. Additionally, some people are using LED lights to highlight certain flowers or add a soft glow to the wall. Overall, the possibilities for creating a stunning paper flower wall are endless, and it's a great way to add a unique and personalized touch to any event or space.

4、 Tips for creating a cohesive color scheme and design
How to make a paper flower wall:
1. Choose your paper: Select high-quality paper in the colors and patterns you want for your flowers. You can use a variety of paper types, including tissue paper, crepe paper, and cardstock.
2. Cut out your flowers: Use templates or freehand cut flower shapes from your paper. You can make a variety of flower types and sizes to add interest to your wall.
3. Assemble your flowers: Use glue or tape to attach the petals and layers of your flowers together. You can add details like stamens and leaves to make them more realistic.
4. Prepare your wall: Choose a wall that is clean and smooth. You can use removable adhesive strips or hooks to attach your flowers to the wall.
5. Arrange your flowers: Start at the bottom of the wall and work your way up, arranging your flowers in a pleasing pattern. You can mix and match colors and sizes to create a dynamic look.
Tips for creating a cohesive color scheme and design:
1. Choose a color palette: Decide on a color scheme that will tie your flower wall together. You can use complementary colors or shades of the same color for a cohesive look.
2. Vary your flower sizes: Use a variety of flower sizes to add interest and depth to your wall. You can also mix in different types of flowers to create a more dynamic design.
3. Consider the background: Think about the color and texture of the wall behind your flower wall. You may want to choose colors that complement or contrast with the wall to create a more cohesive look.
4. Use accents: Add accents like greenery or other decorative elements to your flower wall to tie everything together. You can also use lighting to highlight certain areas of the wall.
5. Experiment: Don't be afraid to experiment with different colors and designs until you find the perfect combination. Remember that your flower wall should reflect your personal style and taste.


