how to make birch arch for a wedding?

To make a birch arch for a wedding, you will need several birch poles, a saw, drill, screws, and a sturdy base. First, cut the birch poles to the desired length and shape them into arches. Then, drill holes in the base and attach the poles using screws. You can also add decorative elements such as flowers, ribbons, or lights to the arch. It is important to ensure that the arch is stable and secure, especially if it will be used outdoors. A birch arch can add a rustic and natural touch to a wedding ceremony and provide a beautiful backdrop for photos.
1、 Selecting and preparing birch branches
How to make birch arch for a wedding:
1. Selecting and preparing birch branches: The first step in making a birch arch for a wedding is to select and prepare the birch branches. Look for branches that are straight and have a diameter of at least 2 inches. Cut the branches to the desired length and remove any bark or rough spots with sandpaper.
2. Building the frame: Once you have your birch branches prepared, it's time to build the frame for your arch. Use metal stakes to anchor the arch in place and create a sturdy base. Then, use wire or twine to attach the birch branches to the stakes, creating the shape of your arch.
3. Decorating the arch: Once your birch arch is in place, it's time to decorate it for the wedding. You can use flowers, greenery, and other decorations to create a beautiful and romantic backdrop for the ceremony. Consider using a mix of fresh and dried flowers, as well as ribbons and other decorative elements.
4. Lighting the arch: To add an extra touch of romance to your birch arch, consider adding lighting. You can use string lights or lanterns to create a warm and inviting atmosphere for the ceremony.
5. Maintaining the arch: To ensure that your birch arch stays looking beautiful throughout the wedding, be sure to maintain it properly. Water any fresh flowers or greenery regularly, and check the wiring and stakes to make sure everything is secure.
In recent years, birch arches have become a popular choice for weddings due to their rustic and natural look. They are also relatively easy to make and can be customized to fit any wedding theme or style. When selecting and preparing your birch branches, be sure to choose ones that are sturdy and straight. Additionally, consider using a mix of fresh and dried flowers to create a unique and beautiful look for your wedding arch.

2、 Building the arch frame
How to make a birch arch for a wedding? Building the arch frame is the first step in creating a beautiful and rustic birch arch for a wedding. To start, gather the necessary materials, including birch poles, screws, a drill, and a saw. Begin by cutting the birch poles to the desired length, typically around 6-8 feet tall. Next, drill holes into the poles where they will connect to form the arch. Use screws to secure the poles together, making sure they are level and sturdy.
To add a modern touch to the birch arch, consider incorporating greenery or flowers into the design. Attach floral wire to the poles and weave in greenery or flowers to create a natural and romantic look. Another option is to drape fabric over the arch, adding a soft and elegant touch to the rustic birch frame.
It's important to note that building a birch arch for a wedding requires some woodworking skills and tools. If you're not comfortable with this, consider hiring a professional or purchasing a pre-made arch. With a little creativity and effort, a birch arch can be a stunning addition to any wedding ceremony.

3、 Attaching birch branches to the frame
How to make a birch arch for a wedding? The first step is to gather all the necessary materials, including birch branches, a sturdy frame, floral wire, and pruning shears. Once you have all the materials, you can start by attaching the birch branches to the frame.
To do this, you will need to cut the birch branches to the desired length and then use floral wire to attach them to the frame. Start by attaching the larger branches to the frame and then fill in the gaps with smaller branches. Make sure to secure the branches tightly to the frame to prevent them from falling off.
Once you have attached all the branches to the frame, you can add additional decorations such as flowers, ribbons, or lights to give the arch a more festive look. You can also add a fabric backdrop to the arch to create a more intimate setting.
It's important to note that birch branches can be heavy, so make sure to use a sturdy frame that can support the weight of the branches. Additionally, if you are planning to use the arch outdoors, make sure to secure it to the ground to prevent it from tipping over in the wind.
In conclusion, making a birch arch for a wedding can be a beautiful and unique way to add a natural touch to your special day. With a little bit of creativity and some basic materials, you can create a stunning arch that will be the perfect backdrop for your wedding ceremony.
4、 Decorating the birch arch with flowers and greenery
How to make birch arch for a wedding:
1. Gather birch branches: Start by gathering birch branches of different sizes and thicknesses. You can either buy them from a craft store or collect them from the woods.
2. Build the frame: Use the thicker branches to create the frame of the arch. You can use screws or zip ties to secure the branches together.
3. Add the crossbars: Once the frame is complete, add the crossbars to create the arch shape. Use thinner branches for this step.
4. Sand and smooth: Sand the birch branches to remove any rough edges or splinters. This will also help the branches to hold paint or stain better.
5. Paint or stain: Choose a paint or stain that matches your wedding theme and apply it to the birch arch. This will help to protect the wood and give it a polished look.
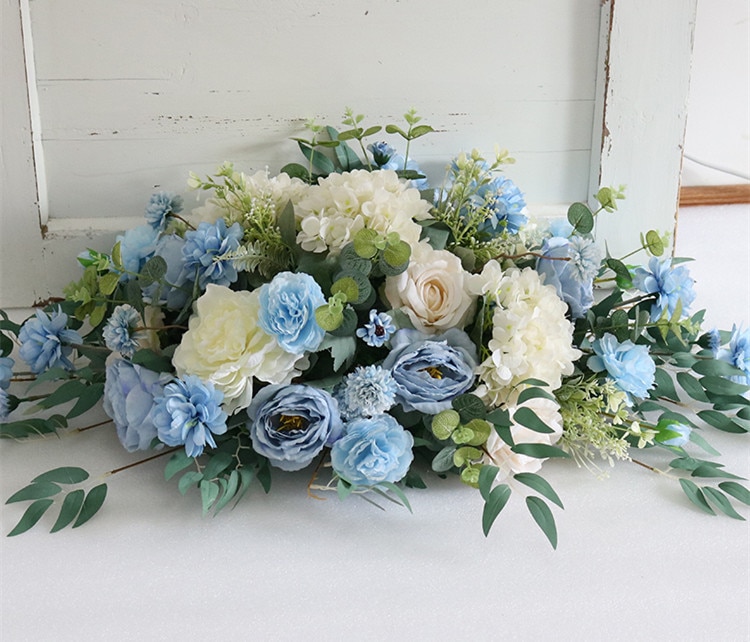
Decorating the birch arch with flowers and greenery:
1. Choose your flowers: Select flowers that match your wedding theme and color scheme. You can use fresh or artificial flowers.
2. Add greenery: Use greenery such as eucalyptus, ferns, or ivy to add texture and depth to the arch.
3. Attach the flowers and greenery: Use floral wire or zip ties to attach the flowers and greenery to the birch arch. Start at the top and work your way down, layering the flowers and greenery as you go.
4. Fill in any gaps: If there are any gaps in the arrangement, add more flowers or greenery to fill them in.
5. Add finishing touches: Once the arch is complete, step back and assess the arrangement. Add any finishing touches such as ribbon or fairy lights to complete the look.
In recent years, there has been a trend towards using sustainable and eco-friendly materials in wedding decor. Birch arches are a great option for couples who want to incorporate natural elements into their wedding while also being mindful of the environment. Additionally, using locally sourced birch branches can help to support small businesses and reduce the carbon footprint of the wedding.