
how to make floral moss balls?

To make floral moss balls, you will need a few supplies such as floral foam spheres, preserved moss, and floral pins. Start by soaking the floral foam spheres in water until they are fully saturated. Then, take small pieces of preserved moss and press them onto the surface of the foam, covering it completely. Use floral pins to secure the moss in place if needed. Continue adding moss until the entire sphere is covered. You can also add other decorative elements like flowers or small plants by inserting them into the foam. Once you are satisfied with the arrangement, allow the moss ball to dry completely before displaying or using it in your desired setting.
1、 Materials needed for making floral moss balls
Materials needed for making floral moss balls:
1. Floral foam balls: These are the base of the moss balls and can be found at craft stores or online. Choose a size that suits your project.
2. Moss: You can use preserved or artificial moss for this project. Preserved moss gives a more natural look, while artificial moss is longer-lasting. Both can be found at craft stores or online.
3. Floral pins or U-shaped wire: These will be used to secure the moss to the foam ball. Floral pins are specifically designed for this purpose and can be found at craft stores. U-shaped wire can be found at hardware stores and can be bent into shape.
4. Scissors: You will need scissors to trim the moss and any excess wire.
5. Optional: Ribbon or twine for hanging the moss balls.
How to make floral moss balls:
1. Soak the floral foam balls in water until they are fully saturated. This will help the moss adhere to the foam.
2. Take a handful of moss and shape it into a ball that is slightly larger than the foam ball.
3. Place the moss ball on top of the foam ball and secure it with floral pins or U-shaped wire. Insert the pins or wire through the moss and into the foam, making sure they are firmly in place.
4. Continue adding moss and securing it with pins or wire until the entire foam ball is covered.
5. Trim any excess moss or wire with scissors to create a neat and uniform shape.
6. If desired, attach a ribbon or twine to the top of the moss ball for hanging.
Floral moss balls can be used as decorative accents in floral arrangements, centerpieces, or even as standalone decorations. They add a touch of natural beauty and can be customized to suit any style or occasion.
2、 Step-by-step instructions for creating floral moss balls
Step-by-step instructions for creating floral moss balls:
1. Gather your materials: You will need floral foam balls, preserved moss, floral pins, and any additional decorative elements such as flowers or ribbon.
2. Soak the floral foam balls in water for about 15 minutes until they are fully saturated. This will help the moss adhere to the foam.
3. Take a handful of preserved moss and squeeze out any excess water. Fluff up the moss to create a loose, fluffy texture.
4. Take a small section of the moss and press it firmly onto the wet foam ball. Continue adding moss, working your way around the ball, until the entire surface is covered. Make sure to press the moss down firmly to ensure it sticks to the foam.
5. If desired, you can add additional decorative elements such as flowers or ribbon by inserting them into the moss using floral pins.
6. Once you are satisfied with the appearance of your moss ball, allow it to dry completely. This may take a few hours or overnight, depending on the size of the ball.
7. Once dry, you can display your floral moss balls in a decorative bowl, hang them from a string, or use them as centerpieces for events or weddings.
The popularity of floral moss balls has been growing in recent years as people seek natural and eco-friendly alternatives to traditional floral arrangements. These moss balls can add a touch of greenery and texture to any space, and they are relatively easy to create. Additionally, they can be customized to fit any theme or color scheme by incorporating different types of moss or adding decorative elements. Whether you are a seasoned crafter or a beginner, making floral moss balls can be a fun and rewarding project that allows you to bring a touch of nature indoors.

3、 Tips for selecting and preparing moss for moss balls
Tips for selecting and preparing moss for moss balls:
1. Choose the right type of moss: There are various types of moss available, such as sheet moss, sphagnum moss, and cushion moss. Select a type that suits your aesthetic preference and the environment in which you plan to place the moss balls.
2. Harvest moss responsibly: If you decide to gather moss from nature, ensure that you do so responsibly and sustainably. Only take small amounts from different areas to avoid damaging the ecosystem. It's often best to purchase moss from a reputable supplier to support sustainable practices.
3. Clean and prepare the moss: Before using the moss, gently rinse it with water to remove any dirt or debris. Allow it to dry partially, but not completely, as slightly damp moss is easier to work with.
4. Create a moss ball base: Start by forming a small ball using a mixture of potting soil and sphagnum moss. This will serve as the base for your floral moss ball.
5. Attach the moss: Take small sections of the prepared moss and wrap them around the base, securing them with floral wire or fishing line. Continue adding moss until the entire base is covered, ensuring a tight and secure fit.
6. Maintain moisture: Mist the moss ball with water regularly to keep it moist. This will help the moss to thrive and maintain its vibrant green color.
7. Display and care for your moss balls: Place the floral moss balls in a decorative bowl, hanging basket, or terrarium. Keep them in a location with indirect sunlight and mist them regularly to maintain moisture levels.
The latest point of view emphasizes the importance of sustainable moss harvesting practices. As moss plays a crucial role in ecosystems, it is essential to gather it responsibly to preserve biodiversity and prevent habitat destruction. Additionally, consider using alternative materials, such as artificial moss or preserved moss, to reduce the demand for natural moss and promote environmental conservation.
4、 Creative ideas for incorporating floral moss balls into decor
How to Make Floral Moss Balls:
Floral moss balls are a beautiful and versatile addition to any home decor. They can be used in various ways, such as centerpieces, hanging decorations, or even as a unique alternative to traditional flower arrangements. Here's a step-by-step guide on how to make your own floral moss balls:
1. Gather your materials: You will need floral foam balls, preserved moss, a hot glue gun, and any additional decorative elements you desire, such as ribbon or artificial flowers.
2. Prepare the foam balls: Start by soaking the foam balls in water for a few minutes to ensure they are fully hydrated. This will help the moss adhere to the surface more easily.
3. Apply the moss: Once the foam balls are ready, use the hot glue gun to apply a thin layer of glue to the surface. Immediately press the preserved moss onto the glue, covering the entire ball. Make sure to press firmly to ensure the moss sticks securely.
4. Add decorative elements: If desired, you can further enhance your floral moss balls by adding decorative elements. For example, you can attach a ribbon around the ball or insert artificial flowers into the moss for a pop of color.
5. Let it dry: Allow the moss balls to dry completely before handling or displaying them. This will ensure that the moss is securely attached and won't come loose.
Creative Ideas for Incorporating Floral Moss Balls into Decor:
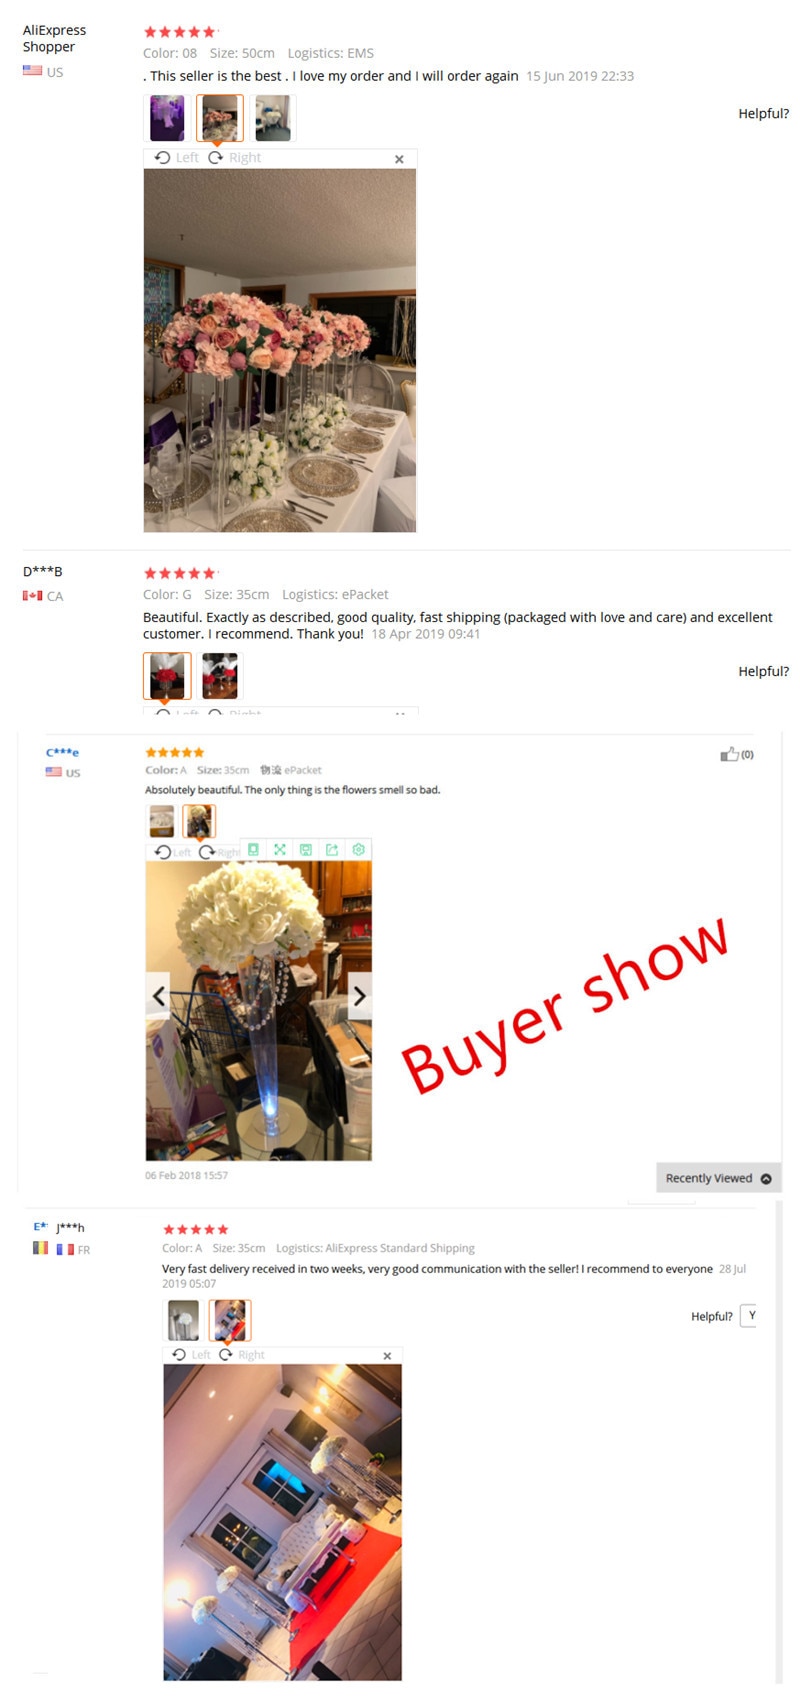
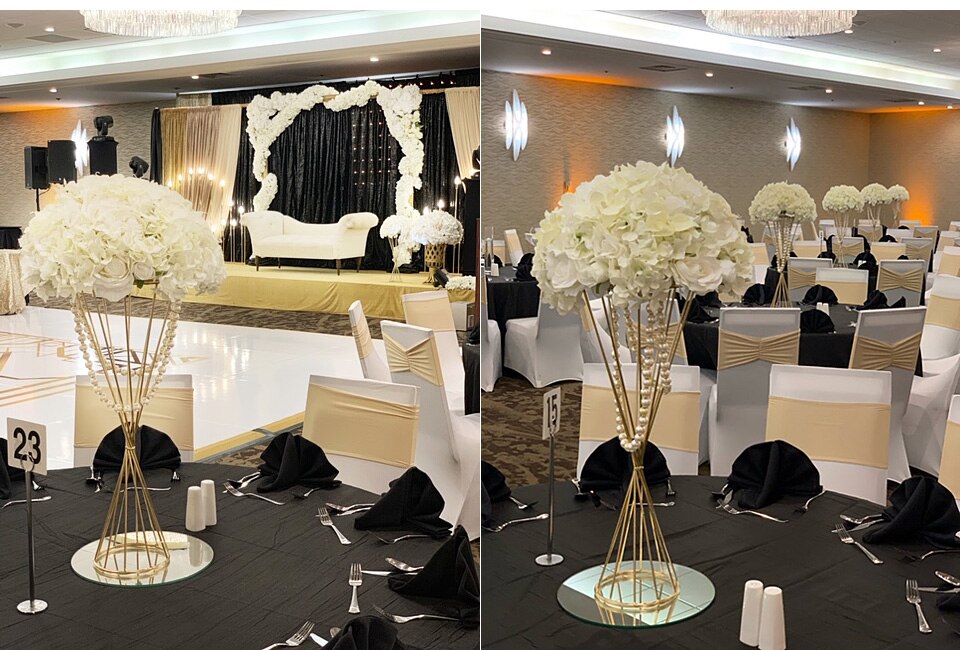
1. Centerpieces: Place floral moss balls in a decorative bowl or tray and use them as a centerpiece for your dining table or coffee table. You can mix and match different sizes and colors to create an eye-catching display.
2. Hanging decorations: Attach a string or fishing line to the moss balls and hang them from the ceiling or a chandelier. This adds a whimsical touch to any room and can be particularly effective for weddings or parties.
3. Terrariums: Create a mini garden by placing floral moss balls in a glass terrarium along with small plants or succulents. This creates a unique and low-maintenance display that brings a touch of nature indoors.
4. Wreaths: Incorporate floral moss balls into a wreath by attaching them to a wire or foam base. Add other elements like twigs, flowers, or ribbons to create a personalized and visually appealing wreath for your front door or wall.
5. Table settings: Use floral moss balls as place card holders by attaching a small card with each guest's name to the ball. This adds a natural and elegant touch to your table settings.
Incorporating floral moss balls into your decor allows you to bring the beauty of nature indoors while adding a unique and creative touch to your space. Experiment with different sizes, colors, and arrangements to find the perfect fit for your style and taste.


