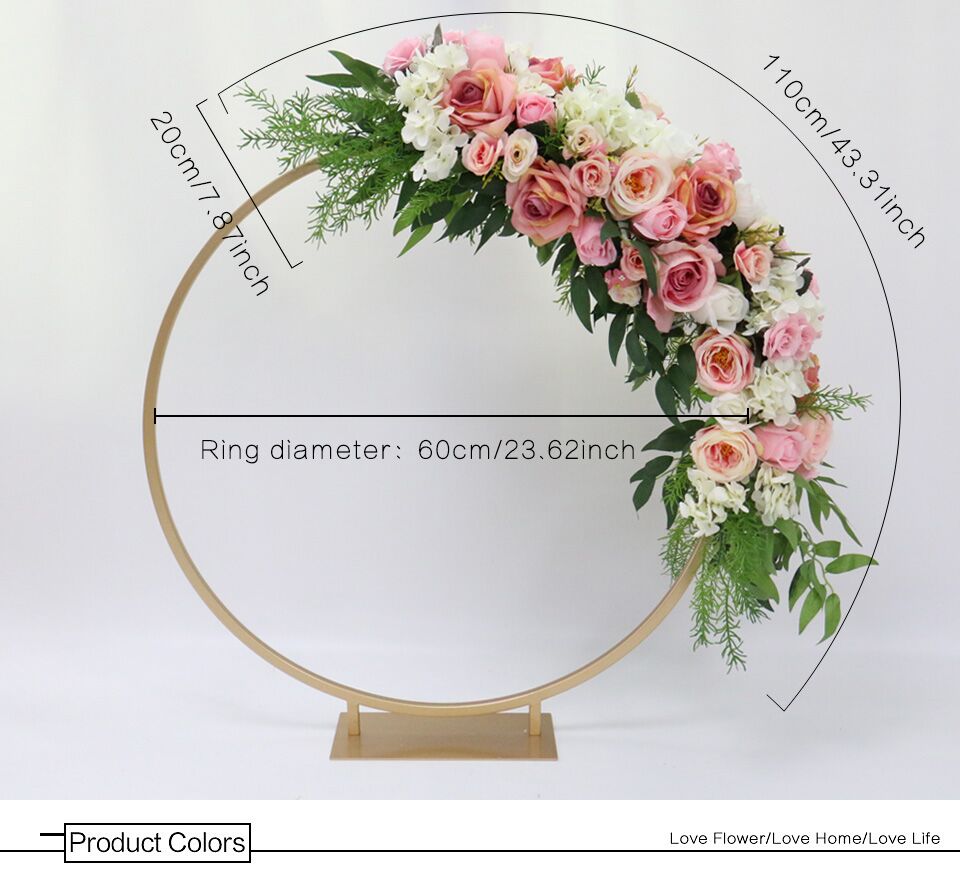
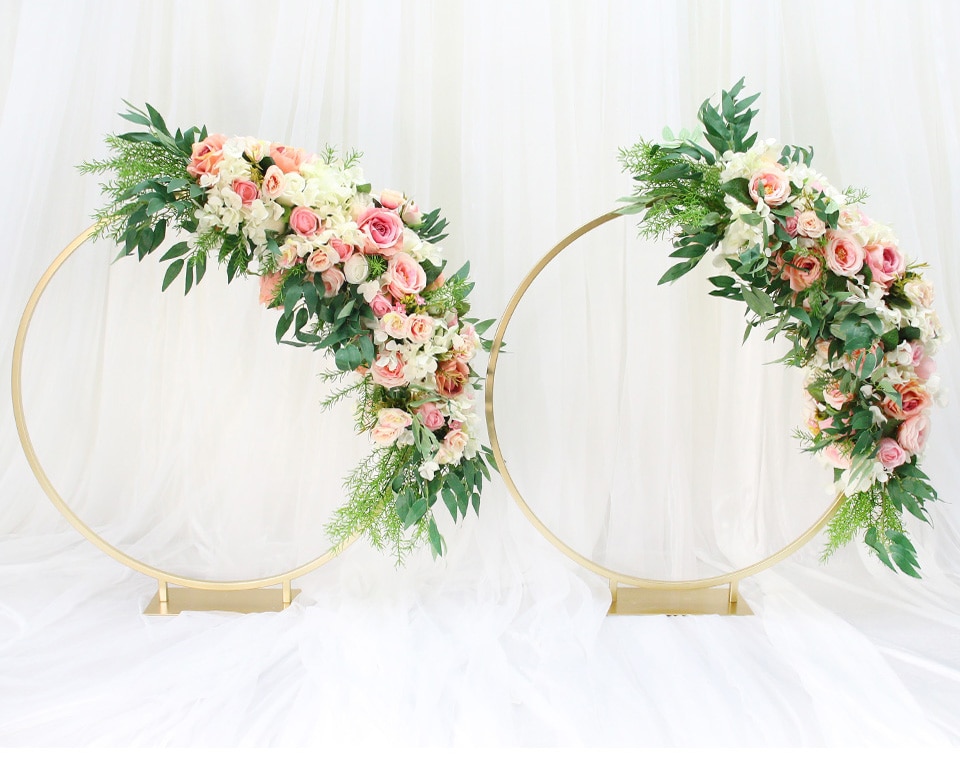
how to make metal flower wall art?
To make metal flower wall art, you will need metal sheets or panels, a metal cutting tool, a design template or stencil, a metal bending tool, a welding machine or adhesive, and paint or finish for the final touch. Start by selecting a design for your flower and trace it onto the metal sheet using a template or stencil. Use a metal cutting tool to carefully cut out the flower shape. Next, use a metal bending tool to create dimension and shape to the petals and leaves. If you have a welding machine, you can weld the different parts together to assemble the flower. Alternatively, you can use a strong adhesive to attach the pieces together. Once the flower is assembled, you can paint it with your desired colors or apply a finish to protect the metal. Finally, hang your metal flower wall art on the wall using appropriate hooks or brackets.
1、 Designing metal flower wall art: Techniques and considerations
Designing metal flower wall art: Techniques and considerations
Metal flower wall art can add a touch of elegance and uniqueness to any space. Whether you are a professional artist or a DIY enthusiast, creating metal flower wall art can be a rewarding and creative endeavor. Here are some techniques and considerations to keep in mind when designing metal flower wall art.
1. Choose the right metal: Select a metal that is suitable for your design and desired aesthetic. Aluminum, copper, and steel are popular choices due to their durability and versatility.
2. Sketch your design: Start by sketching your desired flower design on paper. This will help you visualize the final product and make necessary adjustments before working with metal.
3. Gather your tools: Depending on the complexity of your design, you may need a variety of tools such as metal cutters, pliers, hammers, and a welding machine. Ensure you have the necessary safety equipment, including gloves and goggles.
4. Cut and shape the metal: Use your chosen tools to cut the metal into the desired shapes for the petals, stem, and leaves. You can experiment with different techniques such as bending, folding, or hammering to create texture and dimension.
5. Weld or join the pieces: If you are working with steel or other metals that require welding, carefully join the different components together. Ensure you have the necessary skills and knowledge to handle welding safely.
6. Finishing touches: Once the metal pieces are joined, you can add additional details such as paint, patina, or a protective coating to enhance the appearance and longevity of your metal flower wall art.
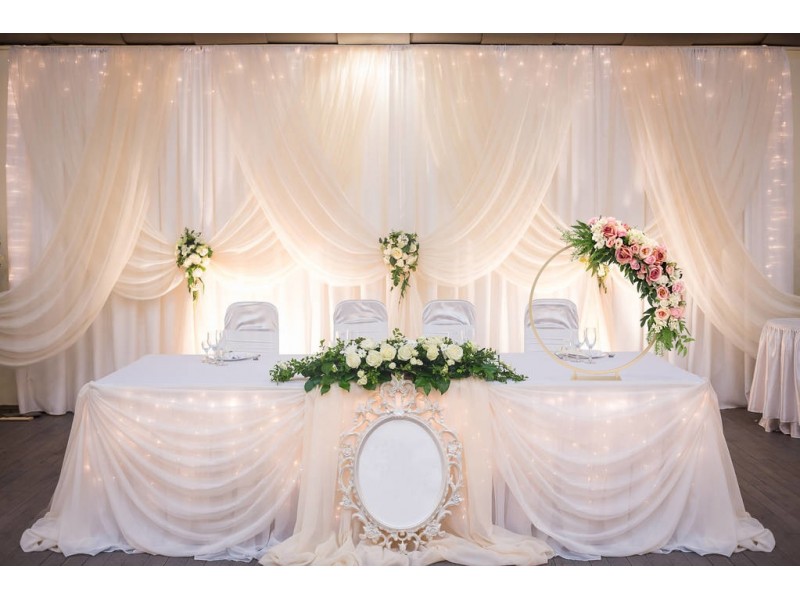
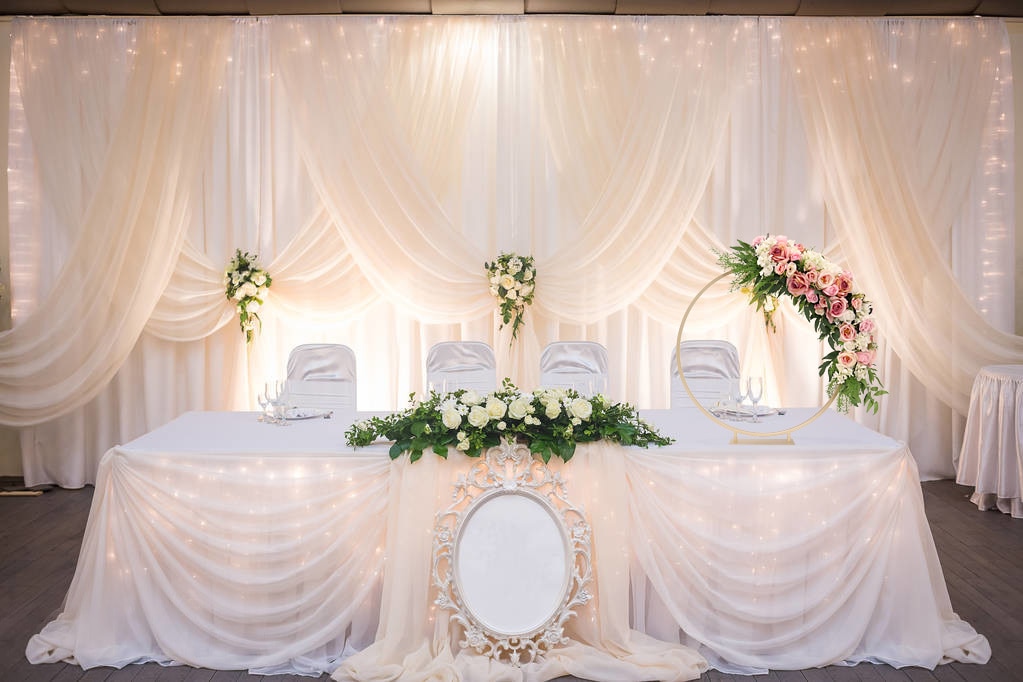
7. Mounting and display: Consider how you will mount and display your metal flower wall art. You can attach it directly to the wall or use a frame or backing for added stability.
In recent years, there has been a growing trend towards incorporating recycled or upcycled materials into metal flower wall art. This not only adds an eco-friendly aspect to the design but also creates a unique and visually interesting piece. Additionally, some artists are experimenting with incorporating LED lights into their metal flower wall art, adding a dynamic and captivating element to the overall design.
Remember, designing metal flower wall art is a creative process, so don't be afraid to experiment and let your imagination guide you. With the right techniques and considerations, you can create a stunning and personalized piece of art that will be admired for years to come.
2、 Metalworking tools and materials for creating flower wall art
Metal flower wall art can be a beautiful and unique addition to any home decor. Creating your own metal flower wall art allows you to customize the design and colors to match your personal style. Here is a step-by-step guide on how to make metal flower wall art:
1. Gather your materials: You will need metalworking tools such as a plasma cutter or metal shears, a metal grinder, a welder, and safety equipment like gloves and goggles. Additionally, you will need metal sheets or scraps, paint or spray paint, and a sturdy backing material such as wood or metal.
2. Design your flower: Sketch out your desired flower design on paper. Consider the size and shape of the petals, as well as the overall composition. You can choose to create a realistic flower or a more abstract design.
3. Cut out the petals: Using a plasma cutter or metal shears, cut out the petals from the metal sheets. Take your time and make precise cuts to ensure clean edges.
4. Shape and texture the petals: Use a metal grinder to shape and add texture to the petals. This will give them a more organic and natural look. Experiment with different grinding techniques to achieve the desired effect.
5. Weld the petals together: Use a welder to attach the petals to each other, forming the flower shape. Be sure to wear protective gear and follow safety precautions when welding.
6. Paint and finish: Once the flower is welded together, you can paint it using metal paint or spray paint. Choose colors that complement your home decor or go for a more vibrant and eye-catching look. Apply multiple coats for a smooth and even finish.
7. Attach to a backing material: Finally, attach the metal flower to a sturdy backing material such as wood or metal. This will provide stability and allow you to easily hang the artwork on your wall.
In conclusion, creating metal flower wall art requires metalworking tools and materials, as well as creativity and attention to detail. With the right tools and techniques, you can make a stunning piece of art that will enhance the aesthetic appeal of your home.
3、 Cutting and shaping metal for intricate flower designs
To make metal flower wall art, one of the key steps is cutting and shaping the metal to create intricate flower designs. This process requires precision and attention to detail. Here's a step-by-step guide on how to achieve this:
1. Choose the metal: Select a suitable metal for your project, such as aluminum or steel. Consider the thickness and durability of the metal based on the size and location of your wall art.
2. Design the flower: Sketch out your desired flower design on paper. Decide on the size, shape, and number of petals for your metal flower.
3. Transfer the design: Transfer the flower design onto the metal using a marker or chalk. Ensure accurate measurements and markings.
4. Cut the metal: Use a metal cutting tool, such as a plasma cutter or metal shears, to carefully cut along the marked lines. Take your time to achieve clean and precise cuts.
5. Shape the petals: Use a metal bending tool, such as pliers or a metal brake, to shape the petals of the flower. Bend the metal gently to create curves and dimension.
6. Add details: Use additional tools, such as a metal grinder or file, to refine the edges and add texture to the petals. This step allows you to create a more realistic and visually appealing flower.
7. Assemble the flower: Once all the petals are cut and shaped, assemble them together using welding or metal adhesive. Ensure that the petals are securely attached to the stem or base.
8. Finishing touches: Sand the metal surface to remove any rough edges or imperfections. Apply a protective coating, such as a clear sealant or paint, to prevent rust and enhance the appearance of the metal flower.
In recent years, there has been a growing trend in using recycled or upcycled materials for metal flower wall art. This eco-friendly approach adds a unique touch to the artwork and promotes sustainability. Additionally, some artists have started incorporating LED lights into their metal flower designs, creating a stunning visual effect when the artwork is illuminated. This modern twist adds a touch of innovation and can make the metal flower wall art stand out even more.
4、 Welding and joining techniques for assembling metal flower art
Welding and joining techniques for assembling metal flower art have become increasingly popular in recent years. Creating metal flower wall art can be a rewarding and creative endeavor that allows you to showcase your artistic skills. Here is a step-by-step guide on how to make metal flower wall art:
1. Design: Start by sketching out your desired flower design on paper. Consider the size, shape, and number of petals you want for your metal flower.
2. Material selection: Choose the type of metal you want to work with. Common choices include steel, aluminum, or copper. Each metal has its own unique properties and characteristics that can affect the final appearance of your artwork.
3. Cutting: Use a plasma cutter or a metal cutting saw to cut out the individual petals and other components of your flower design. Ensure that you wear appropriate safety gear, such as gloves and goggles, during this step.
4. Shaping: Use a metal bending machine or a hammer and anvil to shape the petals into the desired curves and angles. This step requires precision and attention to detail to achieve the desired aesthetic.
5. Welding: Assemble the individual petals and components together using welding techniques such as MIG (Metal Inert Gas) or TIG (Tungsten Inert Gas) welding. Welding not only joins the pieces together but also adds strength and stability to the artwork.
6. Finishing touches: Once the welding is complete, use a grinder or sandpaper to smooth out any rough edges or weld marks. You can also add additional details or textures to the metal flower using various tools and techniques.
7. Surface treatment: Apply a protective coating or finish to the metal flower to prevent rust and enhance its appearance. Options include painting, powder coating, or applying a clear sealant.
It is important to note that welding and metalworking techniques require proper training and safety precautions. If you are new to welding, consider taking a class or seeking guidance from an experienced welder. Additionally, always follow safety guidelines and wear appropriate protective gear to ensure your well-being.