how to make trees for wedding decorations?

To make trees for wedding decorations, you can start by using branches or artificial tree branches as the base. Secure the branches in a sturdy container or pot using floral foam or sand. Decorate the branches with various elements such as flowers, ribbons, fairy lights, or hanging ornaments to match the wedding theme. You can also add additional embellishments like crystals, feathers, or paper cutouts for a personalized touch. Consider using different heights and sizes of branches to create visual interest. Finally, place the decorated trees strategically around the wedding venue, such as near the entrance, as centerpieces, or along the aisle to enhance the overall ambiance.
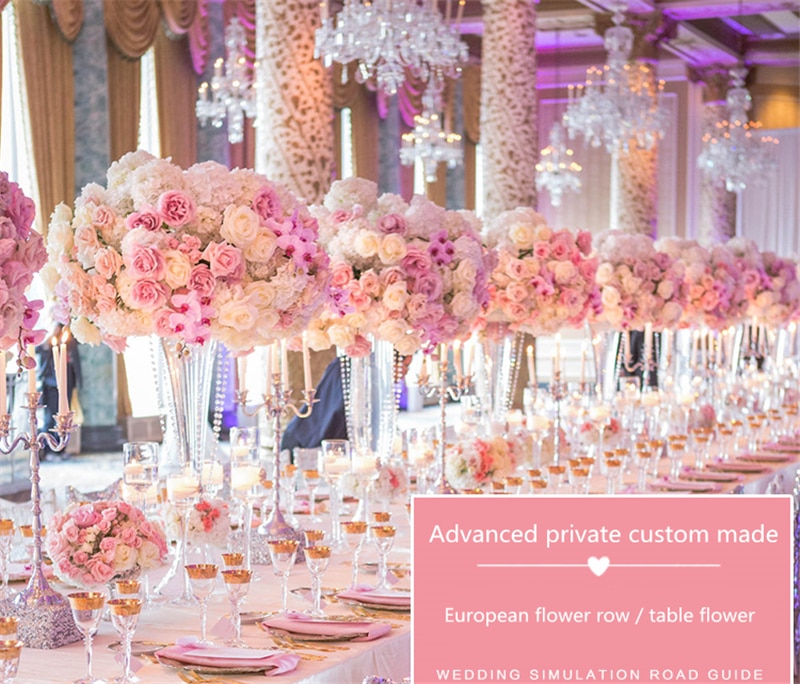
1、 Floral Tree Centerpieces: Creating stunning floral arrangements for tables.
Floral Tree Centerpieces: Creating stunning floral arrangements for tables.
Floral tree centerpieces are a beautiful and unique way to incorporate nature into your wedding decorations. These centerpieces can add a touch of elegance and whimsy to any table setting, creating a stunning focal point for your guests to admire. Here's a step-by-step guide on how to make trees for wedding decorations:
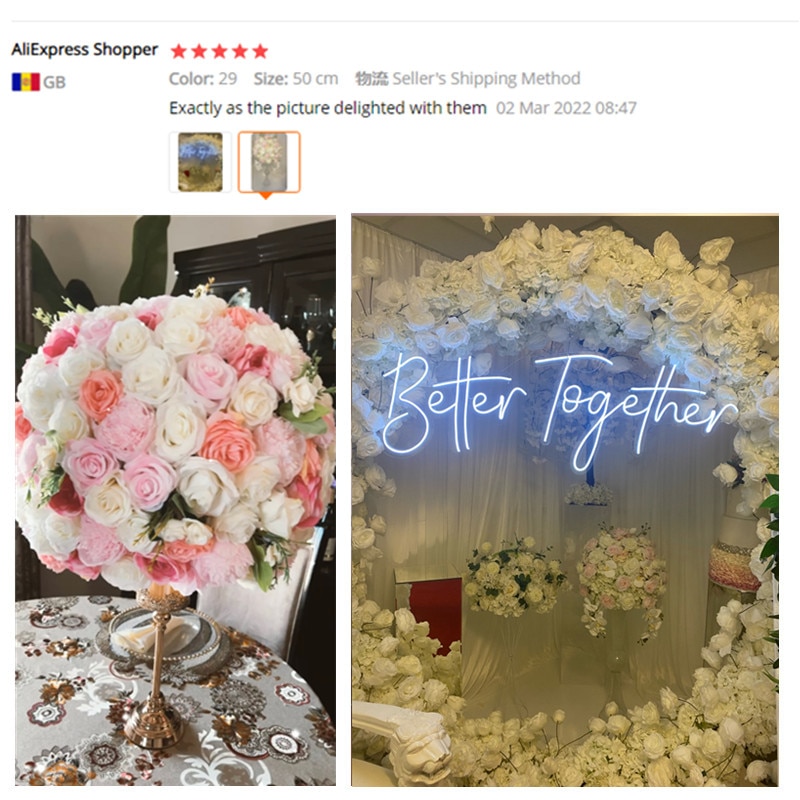
1. Choose the right tree: Select a tree that fits your wedding theme and venue. Consider the size, shape, and color of the tree to ensure it complements your overall decor.
2. Prepare the base: Start by securing the tree in a sturdy base, such as a decorative pot or vase. Make sure it is stable and won't tip over easily.
3. Add foliage: Begin by attaching foliage to the branches of the tree. You can use real or artificial leaves, depending on your preference and budget. Opt for leaves that match your color scheme or theme.
4. Incorporate flowers: Integrate flowers into the tree by attaching them to the branches. Choose blooms that complement your wedding colors and style. You can use a variety of flowers or stick to a specific type for a more cohesive look.
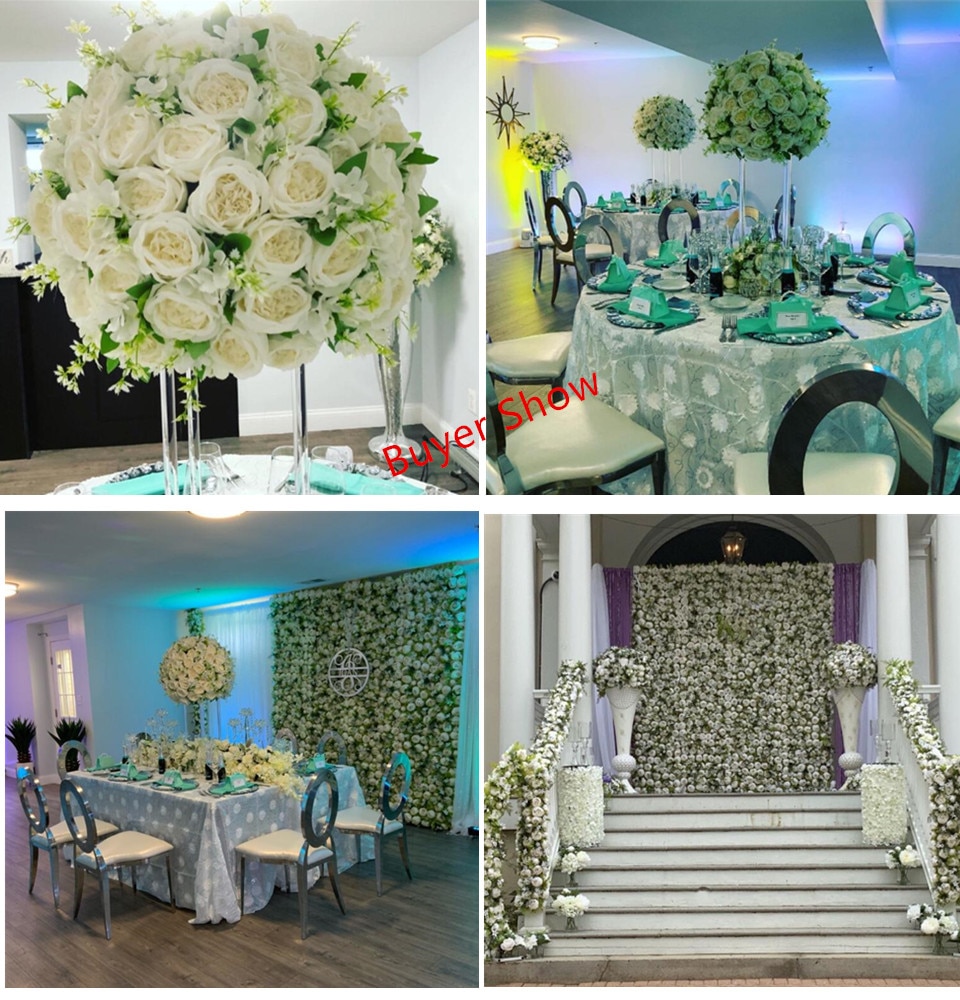
5. Enhance with accessories: Consider adding additional elements to enhance the tree centerpiece. This could include hanging crystals, ribbons, or fairy lights to create a magical ambiance.
6. Arrange on tables: Once your floral tree centerpieces are complete, carefully place them on each table. Ensure they are positioned in a way that allows guests to easily converse without obstructing their view.
The latest trend in floral tree centerpieces is to incorporate sustainable and eco-friendly elements. Consider using recycled materials for the base or opting for locally sourced flowers and foliage. This not only adds a unique touch to your decor but also helps reduce your carbon footprint.
Remember to water your floral trees regularly to keep them looking fresh throughout the wedding day. With a little creativity and attention to detail, your floral tree centerpieces will be a stunning addition to your wedding decorations.
2、 Hanging Tree Installations: Suspended tree decorations for a whimsical ambiance.
Hanging Tree Installations: Suspended tree decorations for a whimsical ambiance.
Creating tree decorations for a wedding can add a touch of natural beauty and whimsy to your special day. One popular trend in wedding decor is the use of hanging tree installations. These suspended tree decorations create a unique and enchanting ambiance that will leave a lasting impression on your guests. Here's how you can make your own hanging tree installations for your wedding:
1. Choose the right trees: Select trees that have a graceful shape and branches that can be easily adorned with decorations. Willow trees, birch trees, or even artificial trees can work well for this purpose.
2. Prepare the branches: Trim any excess leaves or branches that may obstruct the view of the decorations. You can also consider adding fairy lights or small flowers to the branches for an extra touch of magic.
3. Create the hanging mechanism: Use strong fishing line or clear wire to suspend the trees from the ceiling or other structures. Make sure to secure the line tightly to prevent any accidents.
4. Decorate the trees: Add your chosen decorations to the branches. Consider using elements such as ribbons, crystals, paper flowers, or even small lanterns. Be creative and choose decorations that match your wedding theme and color scheme.
5. Arrange the installations: Hang the trees at varying heights to create a visually appealing display. You can also consider clustering them together to create a focal point or spreading them out throughout the venue for a more immersive experience.
The latest point of view in hanging tree installations is to incorporate sustainable and eco-friendly materials. Consider using recycled or upcycled decorations, such as repurposed glass bottles or fabric scraps, to minimize waste and promote a more environmentally conscious wedding.
In conclusion, hanging tree installations can add a touch of whimsy and natural beauty to your wedding decor. By following these steps and incorporating sustainable materials, you can create a truly enchanting ambiance for your special day.
3、 Tree Archways: Constructing beautiful arches adorned with foliage and flowers.
How to Make Trees for Wedding Decorations: Tree Archways
Constructing beautiful arches adorned with foliage and flowers has become a popular trend in wedding decorations. Tree archways provide a stunning backdrop for ceremonies, photo booths, and other wedding festivities. Here's a step-by-step guide on how to make these enchanting tree archways for your special day.
1. Select the Right Trees: Choose sturdy trees that can withstand the weight of decorations and outdoor conditions. Popular choices include birch, willow, or bamboo trees. Ensure they are tall enough to create an arch shape.
2. Prepare the Trees: Trim any dead or excess branches, ensuring a clean and uniform appearance. Remove any sharp edges or thorns that may pose a safety risk.
3. Secure the Trees: Dig holes deep enough to anchor the trees securely. Use stakes or metal rods to keep them in place. Consider using concrete or sandbags for added stability.
4. Create the Arch Shape: Use flexible materials like PVC pipes or metal hoops to create the arch shape. Attach them to the trees at the desired height, ensuring they are level and symmetrical.
5. Decorate the Archway: Wrap the archway with greenery, such as ivy or eucalyptus garlands, securing them with floral wire or zip ties. Add flowers, fairy lights, or other decorative elements to enhance the overall look.
6. Personalize the Archway: Incorporate elements that reflect your wedding theme or personal style. Hang personalized signs, ribbons, or photographs from the archway to add a unique touch.
7. Maintain and Monitor: Regularly water and care for the trees to keep them healthy throughout the wedding festivities. Monitor the archway for any signs of damage or instability, making necessary adjustments as needed.
The latest point of view in tree archway decorations is to incorporate sustainable and eco-friendly elements. Consider using locally sourced flowers and foliage, or even potted plants that can be repurposed after the wedding. Additionally, using biodegradable materials for the arch structure and decorations can help reduce environmental impact.
Creating tree archways for wedding decorations adds a touch of natural beauty and elegance to any venue. With careful planning and attention to detail, you can create a breathtaking backdrop that will leave a lasting impression on your guests.

4、 Tree Backdrops: Designing tree backdrops for photo booths or ceremony spaces.
Tree backdrops have become increasingly popular as wedding decorations, adding a touch of natural beauty and elegance to the ceremony space or photo booth. Creating tree backdrops for wedding decorations can be a fun and creative project. Here's a step-by-step guide on how to make trees for wedding decorations:
1. Choose the right materials: Start by selecting the materials you'll need, such as PVC pipes, chicken wire, floral tape, and artificial foliage. These materials are easily accessible and can be found at most craft stores.
2. Build the tree structure: Use the PVC pipes to create the trunk and branches of the tree. Secure them together using connectors or duct tape. Make sure the structure is sturdy and can support the weight of the foliage.
3. Shape the branches: Attach chicken wire to the PVC pipes, shaping it into the desired branch structure. This will provide a base for attaching the foliage.
4. Add the foliage: Use artificial foliage, such as silk leaves or flowers, to cover the chicken wire. Start from the bottom and work your way up, securing the foliage with floral tape or hot glue.
5. Customize the tree: Add additional decorations, such as fairy lights, ribbons, or hanging ornaments, to enhance the overall look of the tree.
6. Set up the tree backdrop: Once the trees are complete, position them in the desired location. If using them as a photo booth backdrop, ensure they are stable and secure. If using them for the ceremony space, consider placing them strategically to frame the altar or create a focal point.
Tree backdrops offer a versatile and visually appealing option for wedding decorations. They can be customized to match any theme or color scheme, and they provide a stunning backdrop for photographs. Whether used in a photo booth or as a ceremony space decoration, tree backdrops are sure to add a touch of natural beauty and elegance to any wedding.