
how to make wedding props at home?

To make wedding props at home, you can start by deciding on the theme and color scheme of your wedding. Then, gather materials such as cardboard, paint, glitter, ribbons, and other decorative items. You can create props such as photo booth frames, signs, centerpieces, and table numbers. For example, you can make a photo booth frame by cutting a large cardboard frame and decorating it with paint and glitter. You can also make signs by painting wooden boards and adding calligraphy or vinyl lettering. Centerpieces can be made by using mason jars or vases and filling them with flowers or other decorative items. Table numbers can be made by painting wooden numbers and adding embellishments. With a little creativity and effort, you can make beautiful and personalized wedding props at home.
1、 DIY Wedding Backdrops
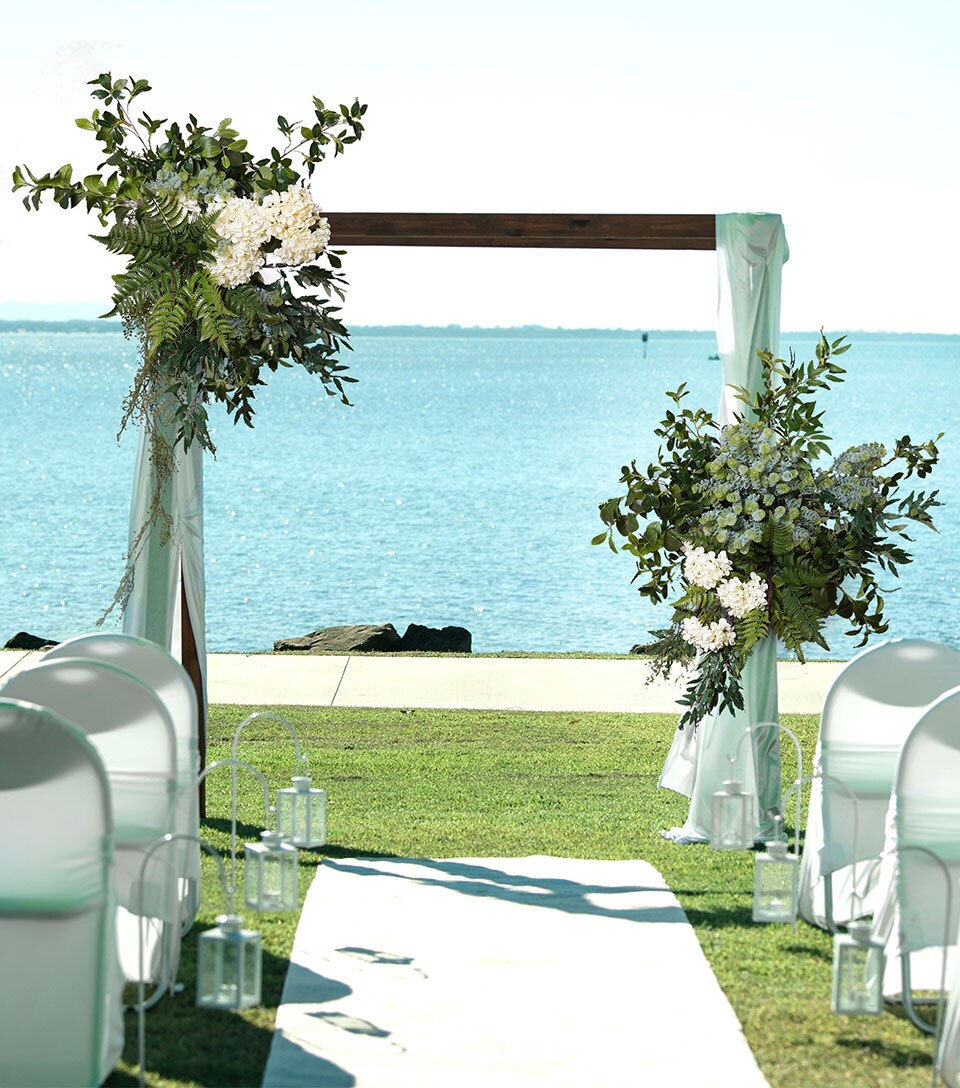
Wedding backdrops are an essential part of any wedding decoration. They add a touch of elegance and beauty to the wedding venue. Making your own DIY wedding backdrop can be a fun and creative way to add a personal touch to your wedding decor. Here are some steps to make a DIY wedding backdrop at home:
1. Choose the backdrop material: You can use a variety of materials for your backdrop, such as fabric, paper, flowers, or balloons. Choose a material that matches your wedding theme and color scheme.
2. Measure and cut the material: Measure the area where you want to hang the backdrop and cut the material accordingly. Make sure to leave some extra material on the sides for hemming.
3. Hem the edges: Hem the edges of the material to prevent fraying and give it a neat finish.
4. Add decorations: Add decorations to the backdrop, such as flowers, ribbons, or lights. You can also use stencils to create patterns or designs on the material.
5. Hang the backdrop: Hang the backdrop using a rod or a frame. Make sure it is securely attached to the wall or ceiling.
The latest trend in DIY wedding backdrops is using unconventional materials such as macrame, wooden frames, or even recycled materials. These unique backdrops add a rustic and eco-friendly touch to the wedding decor. Additionally, incorporating personalized elements such as monograms or photos of the couple is also gaining popularity. With a little creativity and effort, you can create a beautiful and memorable DIY wedding backdrop that will impress your guests.
2、 Handmade Centerpieces
Handmade centerpieces are a great way to add a personal touch to your wedding decor. They can be made using a variety of materials and can be customized to fit your wedding theme and color scheme. Here's how to make wedding props at home:
1. Choose your materials: You can use a variety of materials to make your centerpieces, such as flowers, candles, vases, mason jars, and more. Choose materials that fit your wedding theme and color scheme.
2. Plan your design: Sketch out your design and decide on the placement of each element. You can also create a mock-up of your centerpiece to get a better idea of how it will look.
3. Gather your supplies: Once you have your design in mind, gather all the supplies you'll need to create your centerpiece. This may include flowers, candles, vases, ribbon, glue, and more.
4. Assemble your centerpiece: Start by arranging your flowers or other elements in your vase or container. Add any additional elements, such as ribbon or greenery, to complete your design.
5. Add finishing touches: Once your centerpiece is assembled, add any finishing touches, such as glitter or other embellishments, to make it stand out.
Handmade centerpieces are a great way to add a personal touch to your wedding decor. They can be customized to fit your wedding theme and color scheme, and can be made using a variety of materials. With a little creativity and some DIY skills, you can create beautiful centerpieces that will impress your guests and make your wedding day even more special.

3、 Personalized Wedding Signs
How to make Personalized Wedding Signs at Home
Personalized wedding signs are a great way to add a personal touch to your wedding decor. They can be used to welcome guests, direct them to different areas of the venue, or simply add a special message to your big day. Here are some steps to make personalized wedding signs at home:
1. Choose your materials: You can use a variety of materials to make your wedding signs, such as wood, chalkboard, acrylic, or canvas. Choose the material that best fits your wedding theme and style.
2. Decide on your design: Think about the message you want to convey with your sign. It could be a welcome message, a directional sign, or a quote that is meaningful to you and your partner. Once you have your message, choose a font and layout that complements your wedding theme.
3. Create your design: You can use a computer program like Adobe Illustrator or Canva to create your design, or you can hand-draw it on paper. If you're using a wood or canvas sign, you can transfer your design onto the surface using transfer paper.
4. Paint or print your design: Use paint or a vinyl cutter to transfer your design onto your sign. If you're using a chalkboard sign, you can use chalk markers to write your message.
5. Add embellishments: You can add embellishments like flowers, ribbons, or lights to your sign to make it stand out.
Personalized wedding signs are a great way to add a personal touch to your wedding decor. They are easy to make at home and can be customized to fit your wedding theme and style. With a little creativity and some DIY skills, you can create beautiful and unique wedding signs that will make your big day even more special.

4、 Homemade Photo Booth Props
Homemade Photo Booth Props are a great way to add a personal touch to your wedding and create fun memories for your guests. Here's how to make them at home:
1. Choose your materials: You can use a variety of materials such as cardboard, foam board, glitter paper, and craft sticks. You can also use props like hats, glasses, and mustaches.
2. Decide on your designs: Think about the theme of your wedding and create props that match. You can also create props that are specific to you and your partner, such as a sign with your names or a prop that represents your favorite hobby.
3. Cut out your designs: Use a template or freehand your designs onto your chosen materials. Cut them out carefully using scissors or a craft knife.
4. Add embellishments: Use glitter, stickers, or paint to add some extra flair to your props.
5. Attach your props: Use hot glue or double-sided tape to attach your props to craft sticks or other handles.
6. Display your props: Set up a photo booth area at your wedding and display your props in a basket or on a table for guests to use.
Homemade Photo Booth Props are a fun and easy way to add some personality to your wedding. Plus, they make for great photo opportunities and memories that you and your guests will cherish for years to come.


