how to make wooden backdrop indian wedding?

To make a wooden backdrop for an Indian wedding, you will need to gather the necessary materials and follow a few steps. First, determine the size and design of the backdrop you want. Measure and cut the wooden boards accordingly. Next, assemble the wooden boards using screws or nails to create the frame of the backdrop. Sand the surface of the wood to make it smooth and remove any rough edges. Apply a coat of primer to the wood to prepare it for painting or staining. Once the primer is dry, paint or stain the wood in the desired color or finish. You can also add decorative elements like carvings or embellishments if desired. Finally, secure the backdrop in place at the wedding venue using stands or hooks.
1、 Designing a wooden backdrop for an Indian wedding
Designing a wooden backdrop for an Indian wedding can add a touch of elegance and traditional charm to the overall decor. Here's a step-by-step guide on how to create a stunning wooden backdrop for an Indian wedding:
1. Determine the size and shape: Measure the area where you want to place the wooden backdrop and decide on the dimensions and shape. Consider the available space and the overall theme of the wedding.
2. Choose the type of wood: Select a high-quality wood that suits your budget and design preferences. Popular choices include teak, rosewood, and mahogany. Ensure the wood is treated and polished to enhance its durability and appearance.
3. Design the backdrop: Incorporate traditional Indian motifs and patterns into the design. Consider elements like intricate carvings, arches, or jali work to add a touch of Indian aesthetics. You can also include floral or paisley patterns to reflect the cultural significance.
4. Add embellishments: Enhance the beauty of the wooden backdrop by adding embellishments like mirrors, beads, or crystals. These elements can add a touch of glamour and sparkle to the overall design.
5. Consider lighting: Incorporate lighting fixtures into the backdrop design to create a warm and inviting ambiance. Use soft, warm lights to highlight the intricate details of the woodwork and create a mesmerizing effect.
6. Personalize the backdrop: Customize the wooden backdrop by adding the couple's initials or a personalized message. This adds a unique touch and makes the backdrop more meaningful.
7. Set up the backdrop: Once the wooden backdrop is ready, carefully transport and set it up at the wedding venue. Ensure it is securely installed to avoid any accidents or mishaps.
Remember to consult with a professional carpenter or wedding decorator to ensure the design and construction of the wooden backdrop align with your vision and the latest trends in Indian wedding decor.
2、 Choosing the right type of wood for the backdrop
To make a wooden backdrop for an Indian wedding, there are a few key steps to consider. One of the most important aspects is choosing the right type of wood for the backdrop. The type of wood you select will determine the overall look, durability, and cost of the backdrop.
When choosing the wood, it is essential to consider the theme and style of the wedding. For an Indian wedding, you may want to opt for a wood that has a rich, warm tone such as teak, mahogany, or rosewood. These woods not only provide a beautiful backdrop but also have a traditional and elegant feel that complements the Indian wedding aesthetic.
Additionally, it is crucial to consider the durability of the wood. Indian weddings are often elaborate and can last for several days, so the backdrop needs to be sturdy and able to withstand the wear and tear of the festivities. Hardwoods like teak and mahogany are known for their durability and resistance to rot, making them ideal choices for a long-lasting wooden backdrop.
Furthermore, the cost of the wood should be taken into account. Exotic hardwoods like teak and rosewood can be quite expensive, so if you are on a budget, you may want to consider more affordable options like pine or plywood. These woods can still be stained or painted to achieve the desired look and can be a cost-effective alternative.
In conclusion, when making a wooden backdrop for an Indian wedding, choosing the right type of wood is crucial. Consider the theme, durability, and cost to select the wood that best suits your needs.
3、 Incorporating traditional Indian motifs into the wooden backdrop
To create a wooden backdrop for an Indian wedding, you can incorporate traditional Indian motifs to add a touch of cultural elegance. Here's how you can achieve this:
1. Choose the right type of wood: Opt for a sturdy and durable wood like teak or rosewood, which can withstand the weight of decorations and provide a rich, natural look.
2. Carve intricate designs: Hire skilled artisans to carve traditional Indian motifs onto the wooden panels. These motifs can include paisley patterns, lotus flowers, peacocks, elephants, or any other symbol that holds significance in Indian culture.
3. Add embellishments: Enhance the wooden backdrop by adding embellishments like mirrors, beads, or sequins. These elements will catch the light and create a mesmerizing effect.
4. Incorporate vibrant colors: Paint the wooden backdrop in vibrant colors like red, gold, or royal blue, which are commonly associated with Indian weddings. These colors symbolize prosperity, happiness, and royalty.
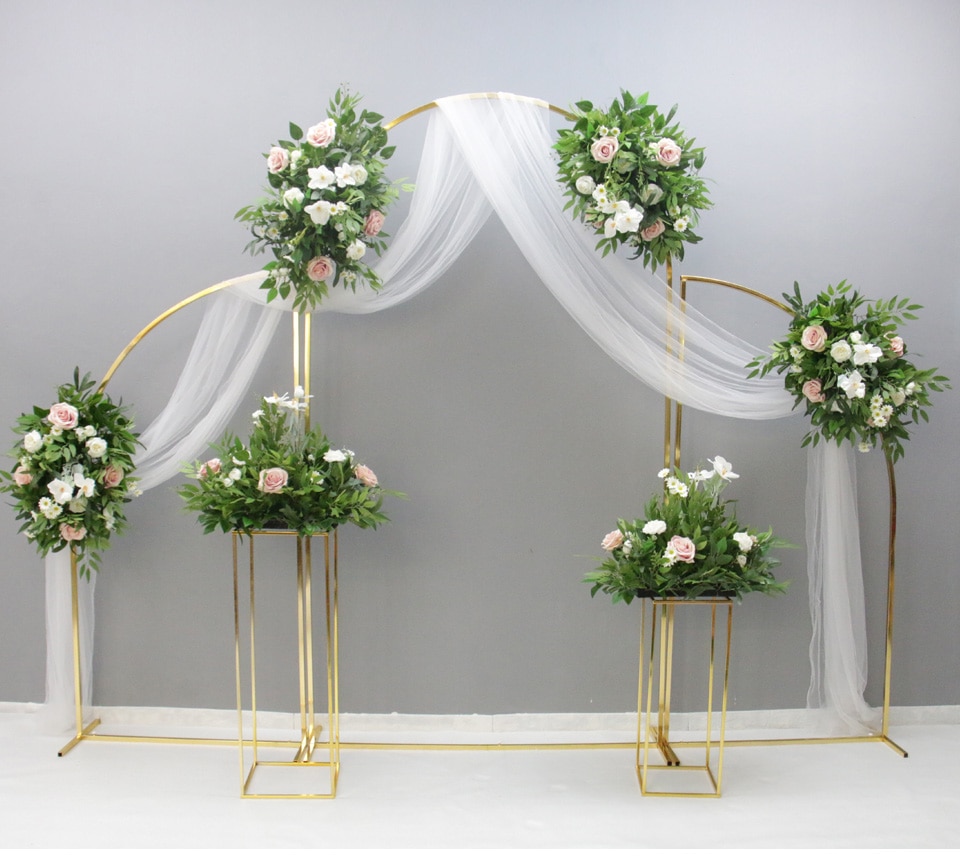
5. Use fabric drapes: Hang colorful fabric drapes in front of the wooden backdrop to create a layered effect. Choose fabrics with intricate embroidery or traditional prints like block or paisley patterns.
6. Incorporate the latest trends: While maintaining the traditional essence, you can also incorporate modern elements into the wooden backdrop. For example, you can add LED lights behind the wooden panels to create a magical ambiance or use laser-cut designs for a contemporary twist.
Remember, the wooden backdrop should complement the overall theme and decor of the wedding. By incorporating traditional Indian motifs into the design, you can create a stunning backdrop that showcases the rich cultural heritage of India while adding a touch of modernity.

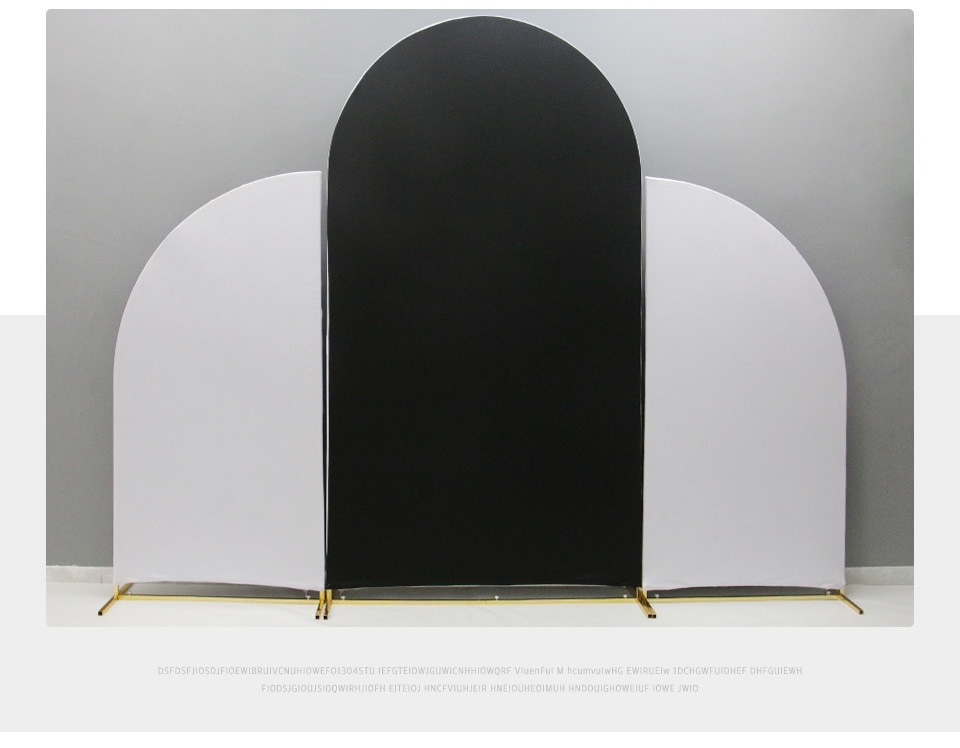
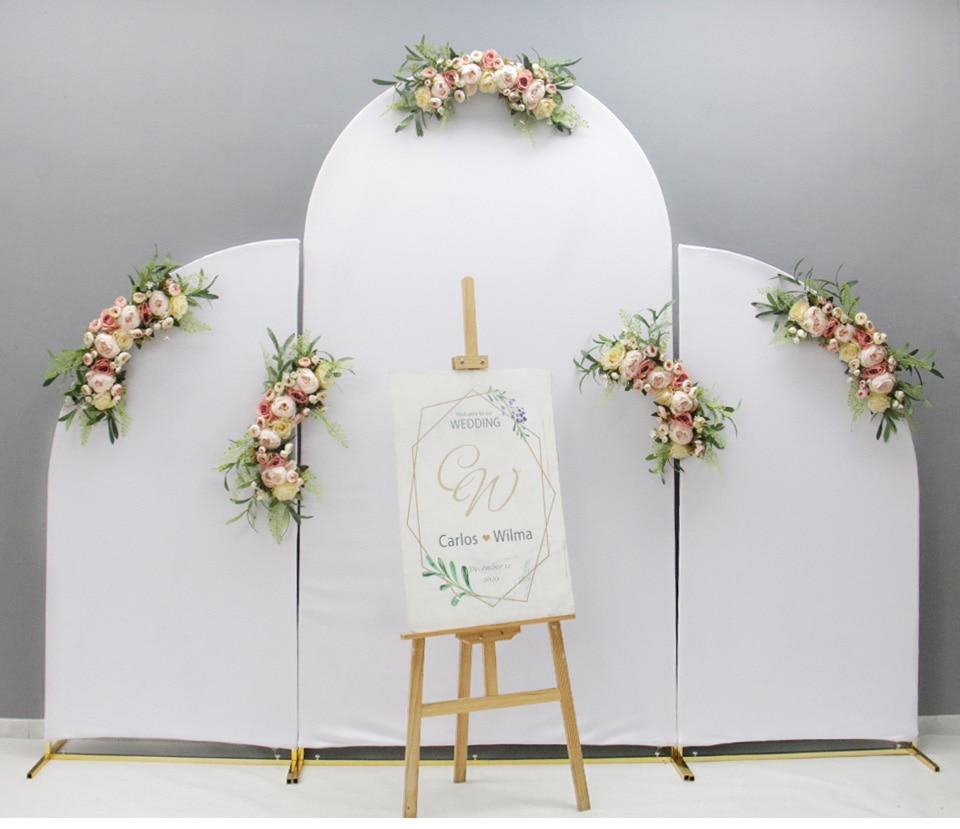
4、 Adding decorative elements to enhance the backdrop's aesthetic appeal
To make a wooden backdrop for an Indian wedding, you will need the following materials: wooden panels or planks, nails or screws, a saw, sandpaper, paint or stain, and decorative elements such as flowers, drapes, or lights.
1. Measure and cut the wooden panels or planks to the desired size for your backdrop. You can create a simple rectangular shape or get creative with different shapes and sizes.
2. Sand the wooden panels to ensure a smooth surface. This will help the paint or stain adhere better and prevent any splinters.
3. Paint or stain the wooden panels in a color that complements the wedding theme. You can go for a traditional look with rich, earthy tones or opt for a more modern and vibrant color palette.
4. Once the paint or stain has dried, assemble the wooden panels using nails or screws. Make sure the panels are securely attached to each other to create a stable backdrop.
5. Now comes the fun part - adding decorative elements to enhance the backdrop's aesthetic appeal. You can attach fresh flowers or artificial blooms to the wooden panels using floral wire or hot glue. Consider using flowers that match the wedding color scheme or traditional Indian flowers like marigolds.
6. You can also drape sheer fabric or colorful sarees over the wooden backdrop to add a touch of elegance and softness. This will create a beautiful contrast against the wooden texture.
7. To add a touch of sparkle, incorporate fairy lights or string lights into the backdrop. You can weave them through the wooden panels or hang them in a cascading pattern.
8. Finally, step back and admire your wooden backdrop creation. It will serve as a stunning focal point for the wedding ceremony or photo booth area, adding warmth and charm to the overall ambiance.
Remember, the key is to personalize the wooden backdrop to suit the couple's style and preferences. Get creative and have fun with the design, incorporating the latest trends or traditional elements to make it truly unique.